
Tutorial
In this lesson, you will add curves to make a better mouth and adjust the curves so the mouth flows correctly at the corner, and the head matches the images provided.
Note: Files for this tutorial are on BlackBoard in the Course Material-->Better Nurbs Head area.
Get setup. The file 00_morris tut_goco_01_template.max contains a nurbs object and a template with image planes for the front and right side like the image below. The curves define only half of the head since the symmetry modifier will be added later.
Open the file 00_morris tut_goco_01_template.max.
Tip: You can also press G to toggle the grid display in viewports.
Now you're ready to create the extra contour curve(s) for the mouth and adjust the overall profile. Use the reference images below (click for full size shots) and the template box as a guide.
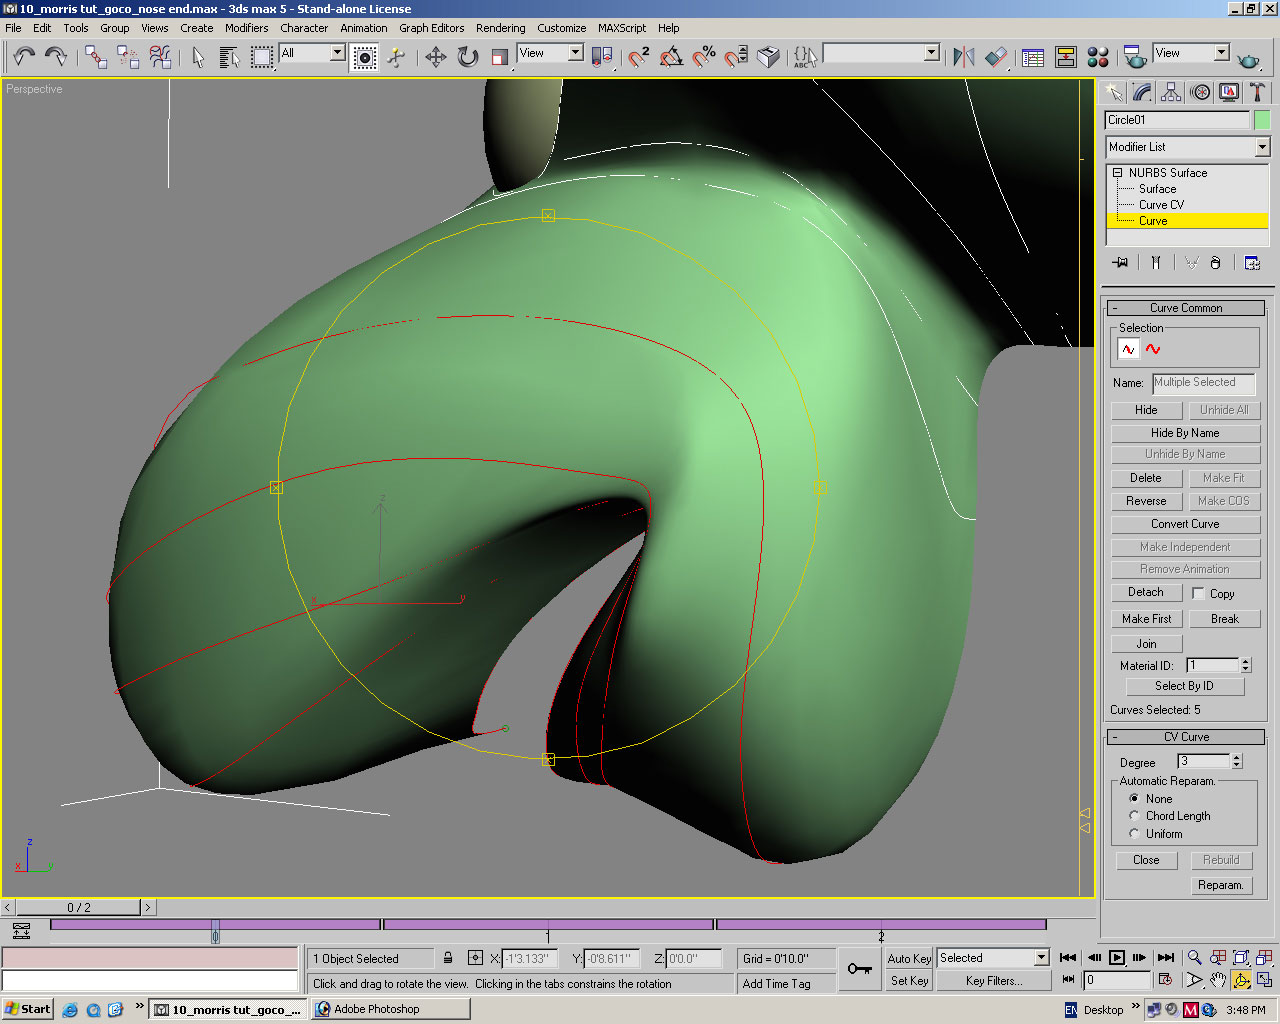
![]() Go to the Modify panel and select
the NURBS model
Go to the Modify panel and select
the NURBS model
Create the temporary U Loft Surface from the CV curves as you did in the last lesson. Start from the neck curves first.
Go to the Curve sub-object level
Select " CV
Curve 05" and create a transform curve (a copy). Tip: You can use
shift+move or the
![]() "Create Transform Curve" tool if
the Nurbs Creation toolbox is open.
"Create Transform Curve" tool if
the Nurbs Creation toolbox is open.
Make the transform curve Independent (Curve Common rollout--Make Indepedent button). Uniform Scale and Move the new CV curve into position then edit the CVs a needed (See image below)
Create one more transform curve (remember to make it Independent) and edit the CVs to define a new contour fir the inside of the mouth. Use the image below as a guide.
 click for Full
size
click for Full
size
Next Add the new CV curve(s) to the temporary Uloft Surface.
Go to the Surface sub-object level and select the U Loft surface of the head.
Under the U Loft Surface rollout the last curve in the list should be CV Curve 05. If it's not you built the U Loft surface started from the mouth curves first and the following steps may be confusing for you, so you should delete the U Loft surface and build it from the neck curves first.
Highlight the ------ End ------ marker in the U Curves list, and then turn on Insert.
Click Transform curve 01 in the viewport.
You will see the surface update and the U curves list update to include the Transform curve 01.
The ------ End ------ marker should still be highlighted in the U Curves list,
Click the Insert button and click Transform curve 02 in the viewport.
You will see the U Loft Surface update to include Transform curve 02. Of course the CVs need to be edited, that what's you will do next.
Now adjust the CVs of the curves defining the snout area, and mouth to match the reference images below and template box in the max scene. Pay special attention to the corner of the mouth. Also...You will be using the symmetry modifier later so be sure to move (snap) the first and last CVs of your new Transform curves to X=0 on the world axis.
Tip: For a way to make editing the CVs a little easier read the last three paragraphs of the previous tutorial Previewing the Head


Save your work as StudentID#_BetterHead01.max.